For those that missed it on Reddit, here's my attempt at an extended battery-tray cover for the Rayven using an N-Strike Flip Clip. Apologies if someone's done it all before!
View Imgur gallery here: https://imgur.com/gallery/evkvX#f8ZUQvu

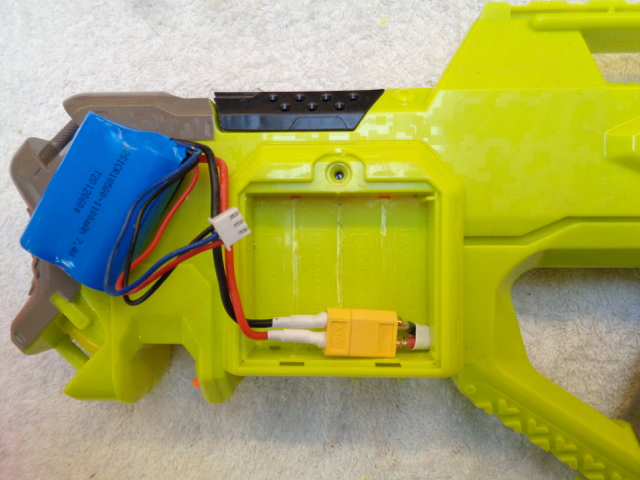
The little 2S Lipo that I'm using was in a prior life powering 2 x FK180-3539's in an RC helicopter so should be rated to their continuous current demands. Short-term they've powered the Rapnadomolisher on full-auto... I'm just not so sure how they'd deal long-term with full stall current (approx. 15 amp each) so I'm limiting their use to lower-spec'd semi-auto builds. Here it's just powering stock motors, wheels and cage for family-friendly "Stock+" games. Rayven's mag-alignment and trigger pull sorted, 16AWG rewire and 16 Amp microswitch, volt-meter and kill-switch added plus a XT60 connector for swapping in a different cage - so it can be taken back up to super-stock when needed.
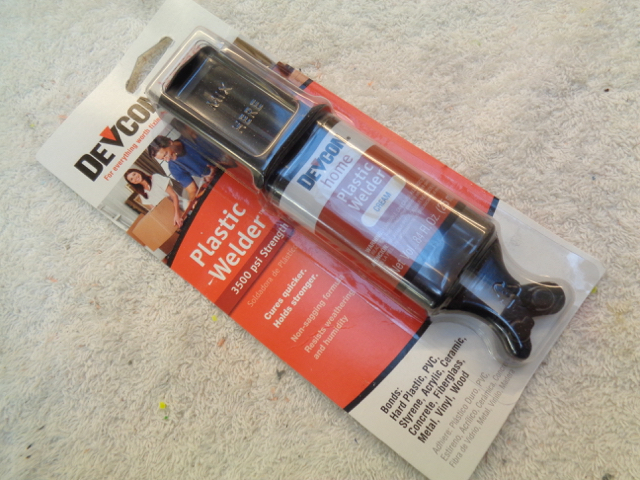
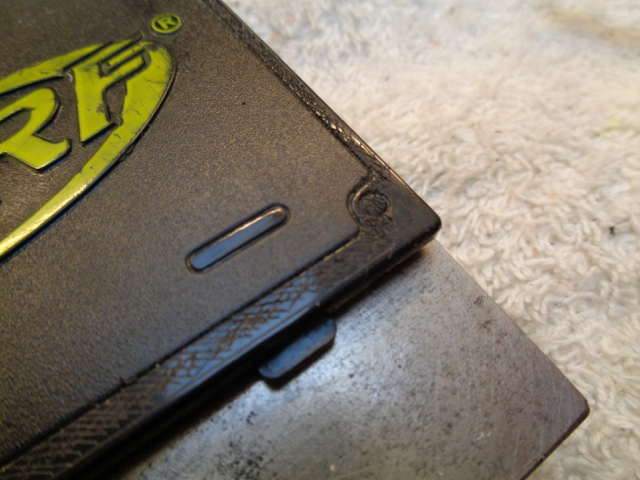
The Devcon ended up not taking onto the original black plastic cover so I resorted to small screws (recovered from the stripped RC chopper). If you look very closely in image #30 you can just see where the screws are finding purchase in the Flip Clip (into the outer trianglular depressions) without having to drill through the plastic entirely.
Note: the same completed extension will also fit exactly onto a Demolisher battery-tray cover (and adhere better because ABS).
1. T-Series T-11 RC Helicopter - Stripped for parts

2. T-11's 18500 2S battery pack in Rayven

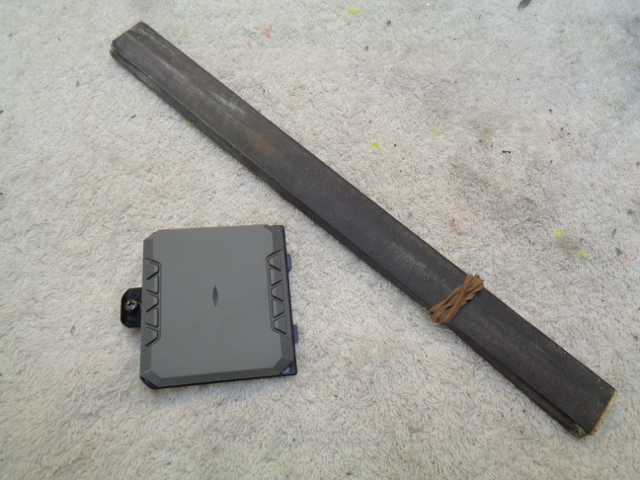
3. Battery tray cleared and wired for XT60
4. Battery tray cover won't close

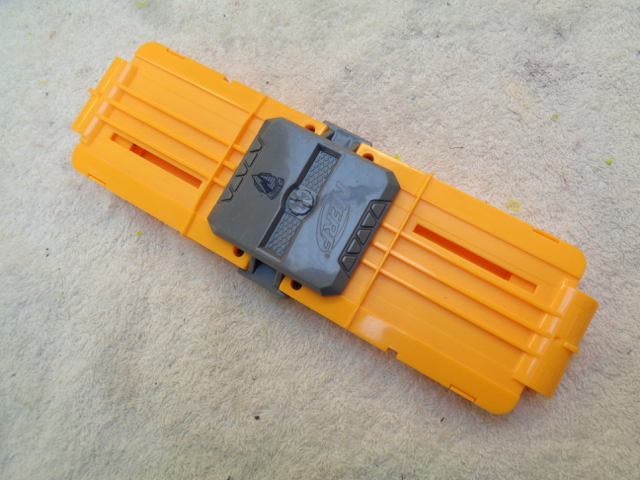
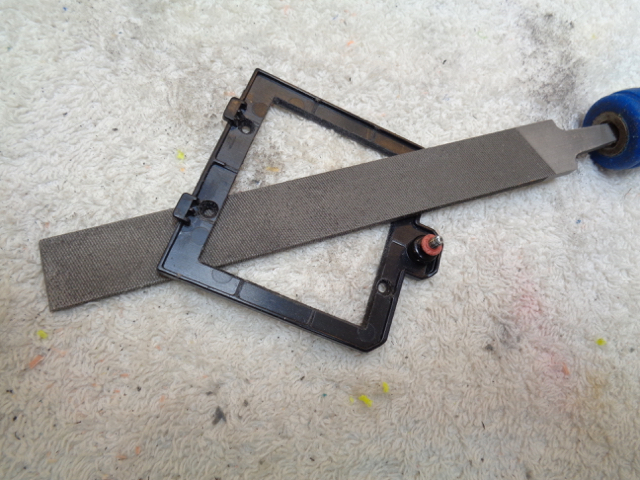
5. Enter the N-Strike Flip Clip
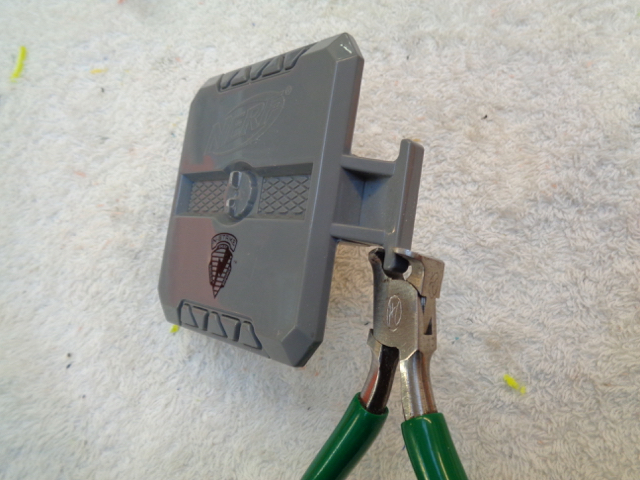
6. N-Strike Flip Clip (rear). There's a screw cover you need to pop off then you can unscrew and separate the halves.

7. Trim flanges to fit into vice
8. Hacksaw while in vice
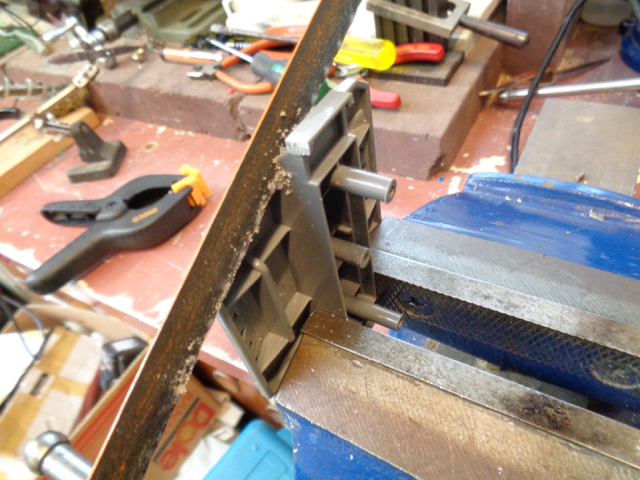
9. Saw off all rear webs and bosses

10. Jeweller's Saw to remove middle

11. Sawn

12. File up to these centre webs

13. Using a flat block to square edge

14. Join is flush and even on block
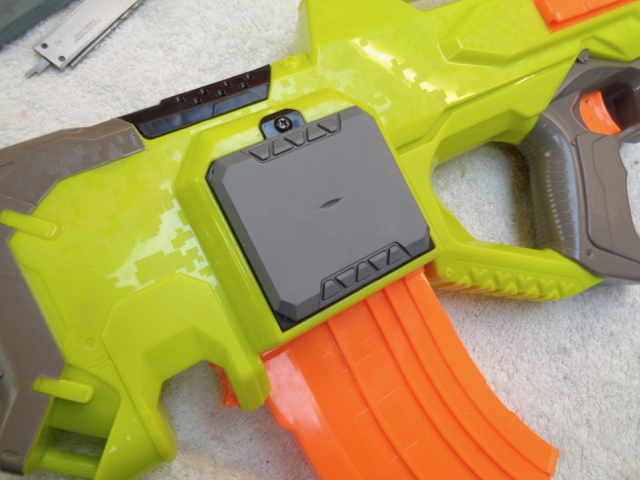
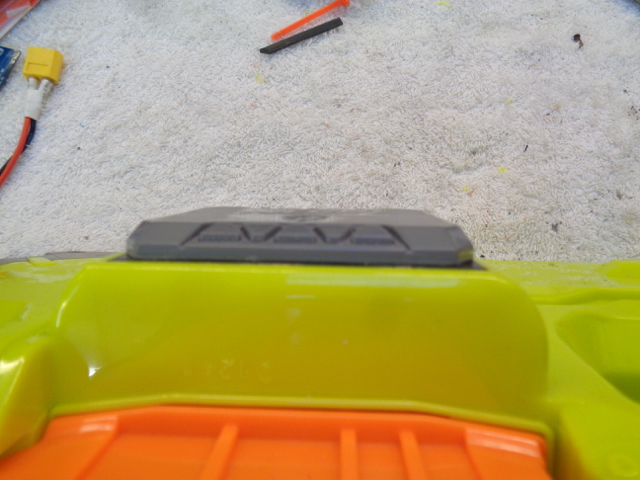
15. Sits nicely on Rayven's battery cover
16. Devcon cherry busted...
17. Mixing up with black concrete-colouring

18. Texturing join for better adhesion
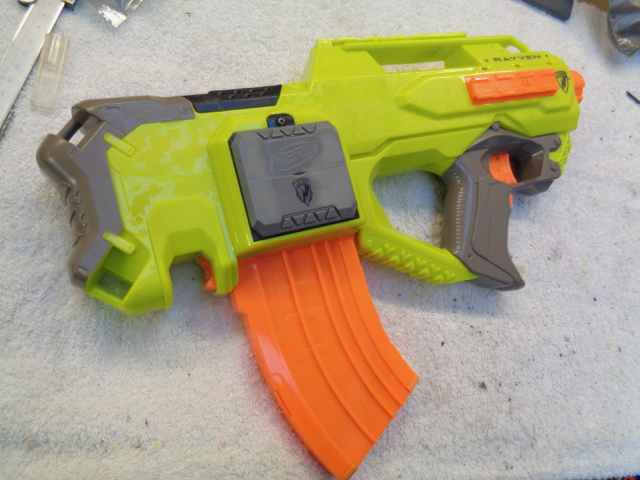
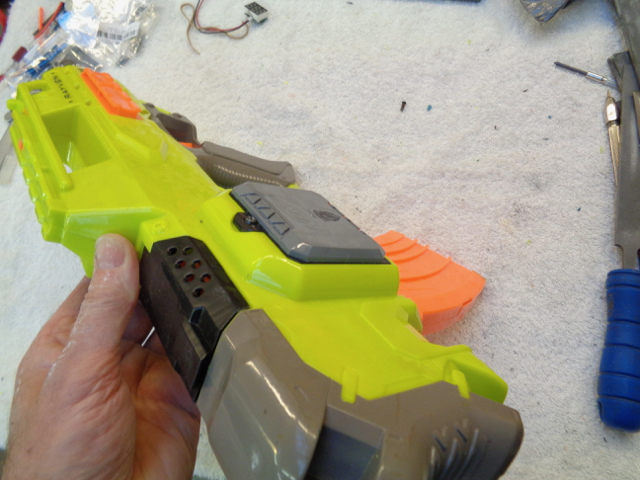
19. Lying flat on table edge
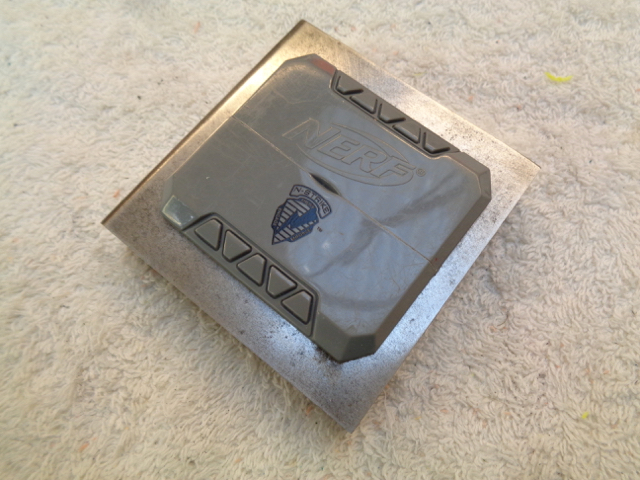
20. Clamping flat

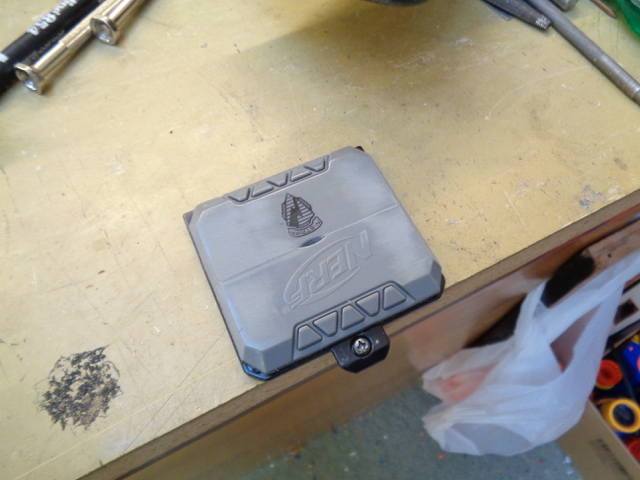
21. Peeling off excess glue while tacky

22. Devcon didn't bond (D'oh!) so went with small screws also recovered from the RC chopper (see image 30)

23. Trying on Rayven shell
24. Looking good
25. Decent height giving good depth extension. Nice bevel detail.
26. Scribing cutout lines parallel to edge

27. Drill corners, then jeweller's saw

28. Checking battery for fit

29. Square and bevel edges
30. Snip off excess web material. If you look very closely here you can just see where the screws are finding purchase in the Flip Clip (into the outer triangular depressions) without having to drill through the plastic entirely.

31. Thin foam to stop rattling
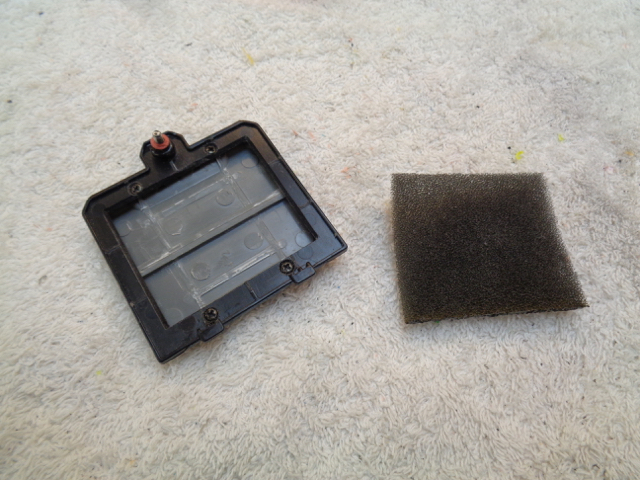
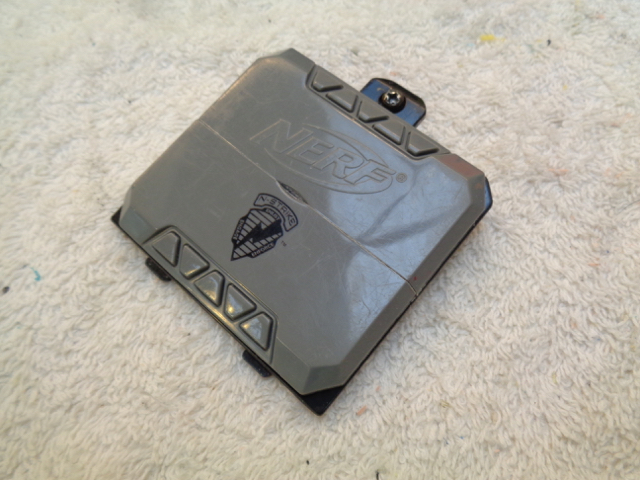
32. Tuck under edges

33. Inside done
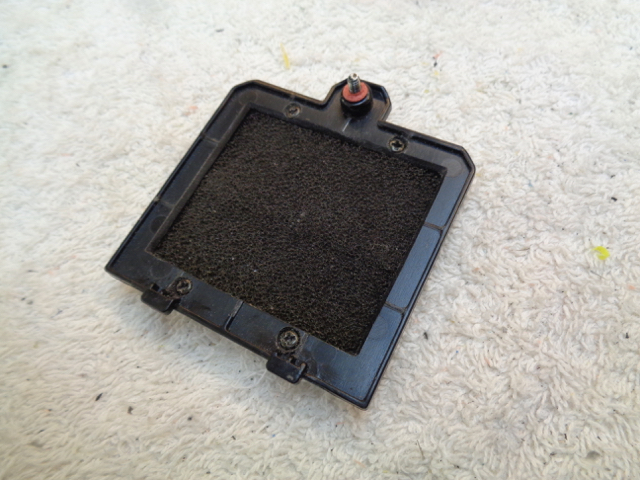
34. Sand off logos with 180-grit. Ideally, to completely flatten large areas like this you'd go face-down onto a full sheet of Wet and Dry on something DEAD flat like a ~10mm thick plate of glass. A nice tightly-wrapped sanding stick does the job fine though.
35. Finish with 600 grit Wet and Dry

36. Finished item fitted to Rayven